PRA Heavy Weapons and Tanks!
The PRA was missing a bit of poke, and so I have decided to add some support. I will be adding a couple of Machine guns- the first is is one.

It is from The Assault Group and comes form their Vietnam range. I shaved off their conical Chinese style straw hats and straight Asian hair and added curly 'afro' style hair. The figures seem a bit smaller that their African counterparts I am not sure if the whole Vietnam range is smaller, or if its just the Vietnamese. Not that it matters too much. I have added a box under the gunners butt to make him look taller. The chap carrying boxes is short, but I guess he could be one of the child soldiers the PRA are known to use. A slop of a lad of thirteen or fourteen made to lug crates of ammo around the battlefield.
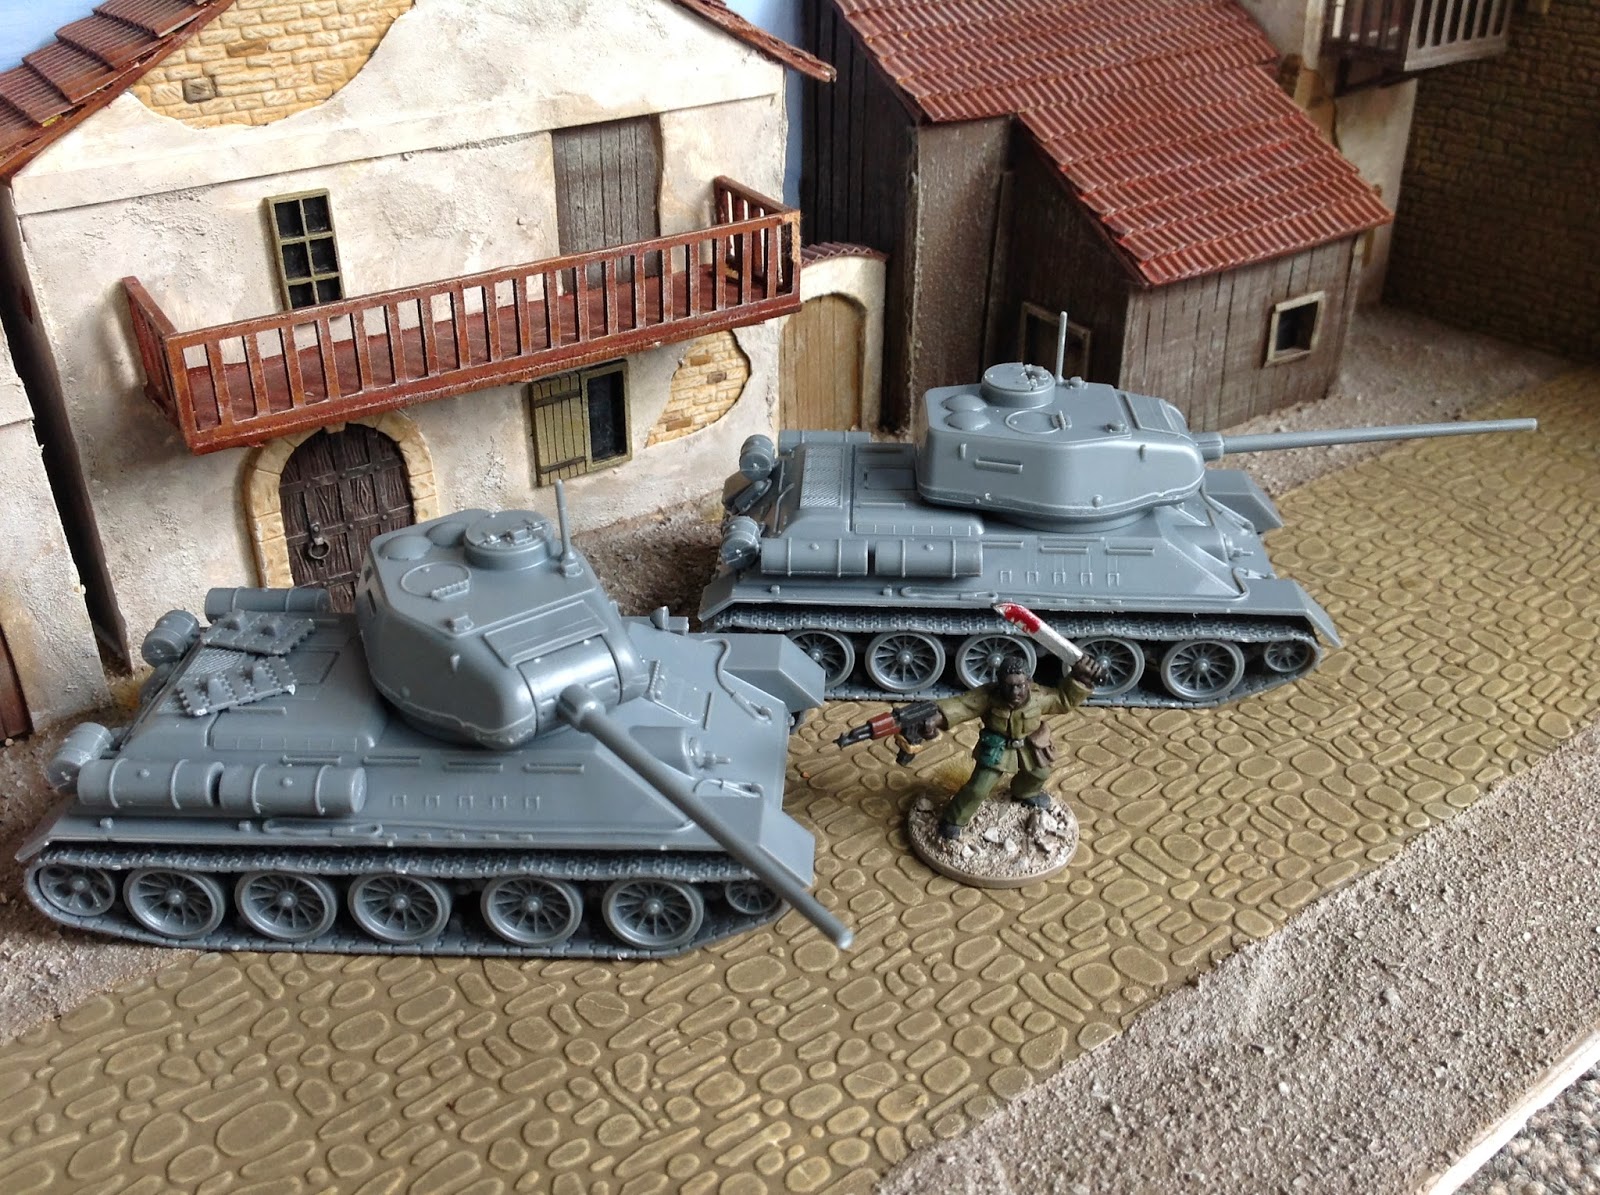
Next up a couple of T34/85. No conversions here- right out of the box plastic models from Warlord Games Bolt Action range. I am going to paint them so they look old and battered a relic of a bygone era still in service in some remote African war-zone.
African Shops
A few people expressed some interest in my African buildings- these are the Modular Buildings that come from Warbases. They are laser-cut from MDF and are very inexpensive, varying in cost from £2-3.50. The embellishments I lavished on them were very simple and quick- even a moderately proficient gamer should be able to know up the same with minimal fuss and expense.
Here is how I did it.


This is how they come- flat pack with minimal detail- they are cut with (quite literally) laser precision and fit together perfectly. I used PVA to glue them together.

They come with a base and a roof. The base fits internally, and so can be glued in place at any hight. This adds a lot of structural strength when glued in place. I glued it in hire up on the two story model to avoid having to fit my chubby fingers in to move models in and out.

A simple elastic band holds it together while the glue sets- it only takes about an hour- I went for my tea while I waited.


The roof was cut from corrugated card available form art and craft shops- this one I bought from Hobbycraft here in the UK but I should imagine it is available most places.

After that I applied a thin coat of fine surface plaster filler and roughed it up with my fingers. After it was dry I rubbed the rough bits off with my fingers, and painted it. After it was painted I used a scalpel to carefully peal off bits of paint/plaster to create the 'distressed look'. I used a brown ink wash to stain the bare plaster so it isn't too bright.
These turned out really well! Thanks for taking the time to post the process - always fun to see how others build stuff and get new ideas!
ReplyDeleteExcellent work on these. :)
ReplyDelete